- Home
- Tulppa flooring
- Tulppa® flooring system installation instructions Casco/Schönox
Tulppa® flooring system installation instructions Casco/Schönox
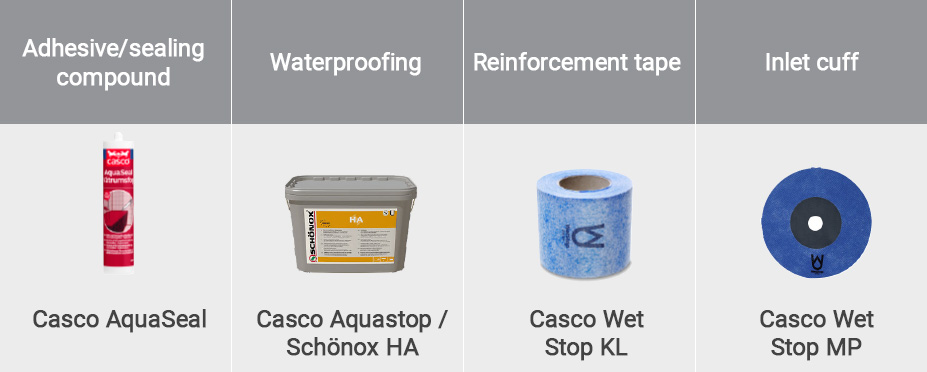
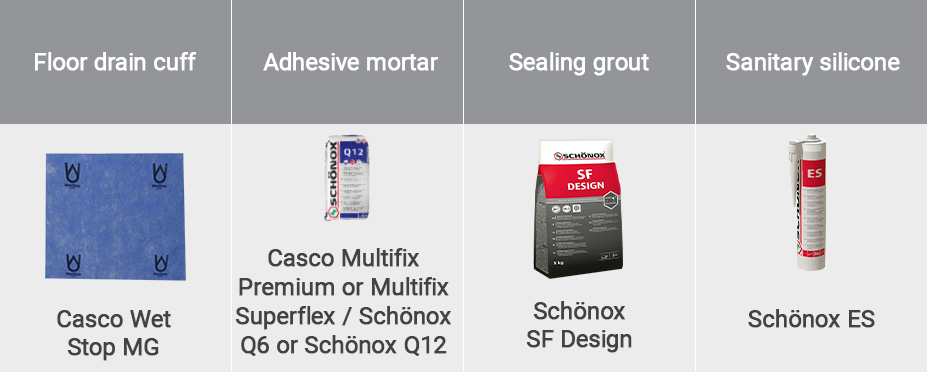
Casco/Schönox products:
- Adhesive/sealing compound: Casco Aquaseal
- Waterproofing: Casco Aquastop / Schönox HA
- Reinforcement tape: Wetstop KL / Non-woven fabric sealing tape
- Pipe inlet cuff: Wetstop MP
- Floor drain cuff: Wetstop MG
- Adhesive mortar: Casco Multifix Premium or Multifix Superflex / Schönox Q6 or Schönox Q12
- Sealing grout: Schönox SF Design
- Sanitary silicone: Schönox ES
Additional components if the installation comprises an underfloor heating system:
- Primer: Casco Primer / Casco VD Fix
- Marginal strip Schönox RS 50
- Base: Casco Floor Expert CLS

Finnfoam Oy products:
- Tulppa pre-sloped boards
- Tulppa Pre-sloped board 1
- Tulppa Pre-sloped board 2
- Tulppa Floor drain board (Vieser)
- Tulppa O brackets
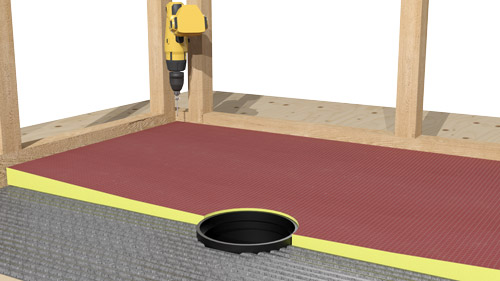
General information
For timber-framed and panel-constructed floors the structure of the floor and its rigidity are based on the instructions provided by the structure’s designer and the manufacturer of the wooden panels. The rigidity of the base must be sufficient for the surface structure system. The waterproofing system is installed according to the supplier's instructions. The Casco/Schönox surface structure products have been tested for compatibility with the Finnfoam Tulppa floor boards.
Attaching the Tulppa floor board
The Tulppa floor board is attached to the plywood base using Casco Multifix Premium or Multifix Superflex / Schönox Q6 or Schönox Q12 adhesive mortar. The mortar is spread on top of a clean surface using a 6 x 6 x 9 mm notched mortar applicator and the Tulppa board is placed on top of the fresh coat of mortar and pressed down with sufficient force. The boards can be attached to the base while the mortar dries using Tulppa O brackets or weighted down with tile stacks, for example. A consistent line of Casco Aquaseal adhesive compound is applied to each joint between the boards as they are installed. The adhesive compound is applied onto the edge/groove of the previous board and the boards are pushed tightly together. Any superfluous paste is spread evenly on top of the boards with a trowel. If you have used Tulppa O brackets to attach the boards temporarily, you have to remove the brackets once the mortar has dried and fill in the holes with Casco Aquaseal adhesive compound before the next working stages.
Boundaries
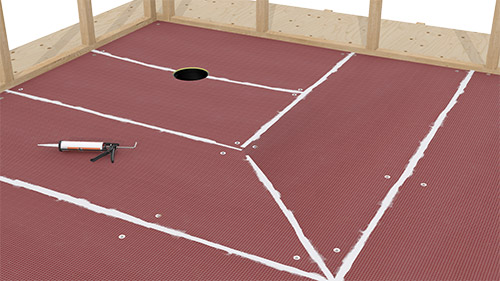
Similarly to the joints between the Tulppa floor boards, the intersection of the floor and the wall as well as any pipe pass-throughs must be sealed during installation with Casco Aquaseal adhesive compound before the actual surface structure system is implemented. Any superfluous paste is spread evenly on top of the boards with a trowel.
Priming before the floor is leveled for underfloor heating
The board surfaces are primed using undiluted Casco Primer / Casco VD Fix primer. The primer is left to dry before the cabling for the underfloor heating is installed. A strip of edge insulation tape is laid over the joint between the wall and floor to prevent the screed from adhering to the wall structure.
Retrofit underfloor heating
The renovation heating cable or heating fabric is attached carefully to the primed base.
Levelling
In wet rooms, the floor rake is 1:100 and in the shower area 1:50. After the boards have been installed, a layer of Casco Floor Expert CLS screed is poured down. The thickness of the screed on top of the cable must be at least 5 mm, which means that the poured layer must be at least 10 mm thick when using a renovation heater mat, for example. The layer of screed is separated from the wall structure using Schönox RS 50 marginal strip. After this step, the waterproofing is prepared according to the previous instructions.
Waterproofing
The floor is waterproofed using Casco Aquastop / Schönox HA waterproofing membrane. With the Tulppa flooring solution, the boards are always covered completely with waterproofing, which is extended a further 100 mm up the wall if the wall is covered with Tulppa boards. The intersections between the wall and the floor and the joints between the Tulppa floor boards are treated with Casco Aquastop / Schönox HA waterproofing. Wetstop KL / non-woven fabric sealing tape is pressed on top of the fresh waterproofing layer at each joint between the boards such that no air pockets remain between the tape and the base. The reinforcement tape is covered completely with waterproofing. Any tongue-and-groove damage that may have occurred during the installation of the boards is repaired using Casco Aquastop / Schönox HA waterproofing membrane and Wetstop KL / non-woven fabric sealing tape.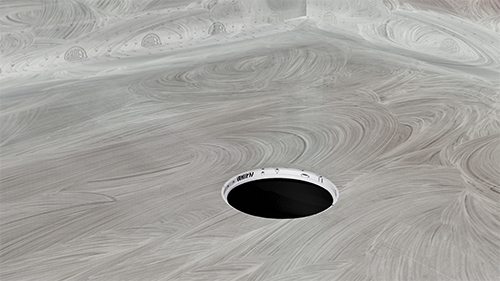
Pipe pass-throughs are sealed using Wetstop MP inlet cuffs. During the sealing, you must ensure that no dried-up excess installation adhesive is left between the pipe cuff and the pipe. For floor drain joints, the gap between the floor drain and the Tulppa board is sealed using Casco Aquaseal installation adhesive before connecting to the actual floor drain. The installation adhesive and any excess material is smoothed around the extension ring of the floor drain when wet.
When using a plastic point drain with seals and a tightening ring (for example Vieser), waterproofing is joined using a Wetstop MG floor drain cuff according to the installation instructions of the waterproofing system.
Tiles are attached using Casco Multifix Premium or Casco Multifix Superflex / Schönox Q6 or Schönox Q12 adhesive mortar.
Grouting
The joints are sealed with Schönox SF Design sealing grout.
The expansion joints at the intersections are sealed with Schönox ES Sanitary Silicone depending on the color of the grouting.


